When it comes to woodworking projects, the final touch can make all the difference. A well-polished surface not only enhances the overall appearance of your work but also protects the wood from wear and tear. This is where a wooden work polishing brush becomes an invaluable tool in your arsenal. In this comprehensive guide, we'll walk you through the step-by-step process of using a wooden work polishing brush to achieve a professional-grade finish on your wooden creations.
Step 1: Prepare the Surface
Before you begin polishing, ensure that the surface of your wooden project is clean, smooth, and free from any dust or debris. Use fine-grit sandpaper to lightly buff the surface, removing any imperfections or uneven areas.
Step 2: Choose the Right Polishing Brush
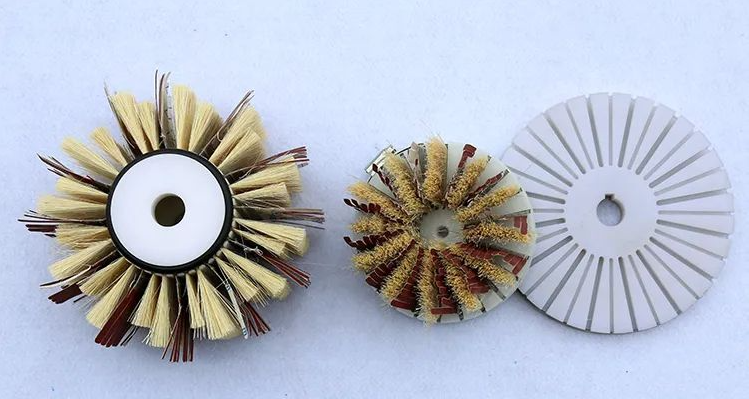
Wooden work polishing brushes come in a variety of sizes and bristle types, each suited for different tasks. Consider the size of your project and the desired finish when selecting the appropriate brush. Softer bristles are generally better for delicate surfaces, while stiffer bristles are more effective on coarser woods.

Step 3: Apply the Polishing Agent
Depending on the desired finish, you can use a variety of polishing agents with your wooden work polishing brush. Some common options include beeswax, carnauba wax, or a specialized wood polish. Apply a small amount of the agent to the surface, spreading it evenly with the brush.
Step 4: Begin Polishing
Gently but firmly, use the wooden work polishing brush to buff the surface in small, circular motions. Apply moderate pressure, taking care not to overwork the surface. Continue polishing until you realize the desired level of shine and smoothness.
Step 5: Buff the Surface
Once you've completed the initial polishing, use a clean, soft cloth to further buff the surface. This will help to remove any excess polish and create a truly lustrous finish.
Step 6: Maintain the Brush
To ensure the longevity of your wooden work polishing brush, it's important to clean and maintain it properly. After each use, gently brush the bristles with a stiff-bristled cleaning brush to remove any residual polish or debris. Store the brush in a cool, dry place and away from direct sunlight or heat.
By following these steps, you'll be able to transform your wooden projects with a professional-looking, high-gloss finish using a wooden work polishing brush. Remember, the key to achieving the best results lies in patience, attention to detail, and a steady hand. With practice, you'll soon master the art of polishing wood to perfection.


 HOME
HOME
 PRODUCT


 NEWS
NEWS
 CONTACT
